install.packages("magick")Using magick for image manipulation
r
magick
Y2024
Add text and margins on images.
Intro
This post is to read and edit images in R.
Using R assures that your image would not be compress as happens when you open it with some other programs.
The blog consist of two parts:
1. Add letter to a picture and export
2. Merge two pictures into one and export
1. Add letter to a picture and export
Packages
Use the package magick to process images in R.
For more information: https://docs.ropensci.org/magick/articles/intro.html#read-and-write
To install the package
To call the package
library(magick)Data
Select your directory. In the example, as My_directory.
library(here)
My_directory<-here()
Check if you gave the correct path by using the function list.files.
It should show the images you want to use.
Read images using the function image_read.
Fig1_original<- image_read(Fig1_link)The function image_draw will show the picture in the Viewer.
Moreover, it gives information on the width and height of the picture.
Fig1_draw<-image_draw(Fig1_original)
Fig1_draw
Add text
To add text use the function image_annotate
To add the text in the right bottom use the information from the dimensions above to define the xaxis and yaxis.
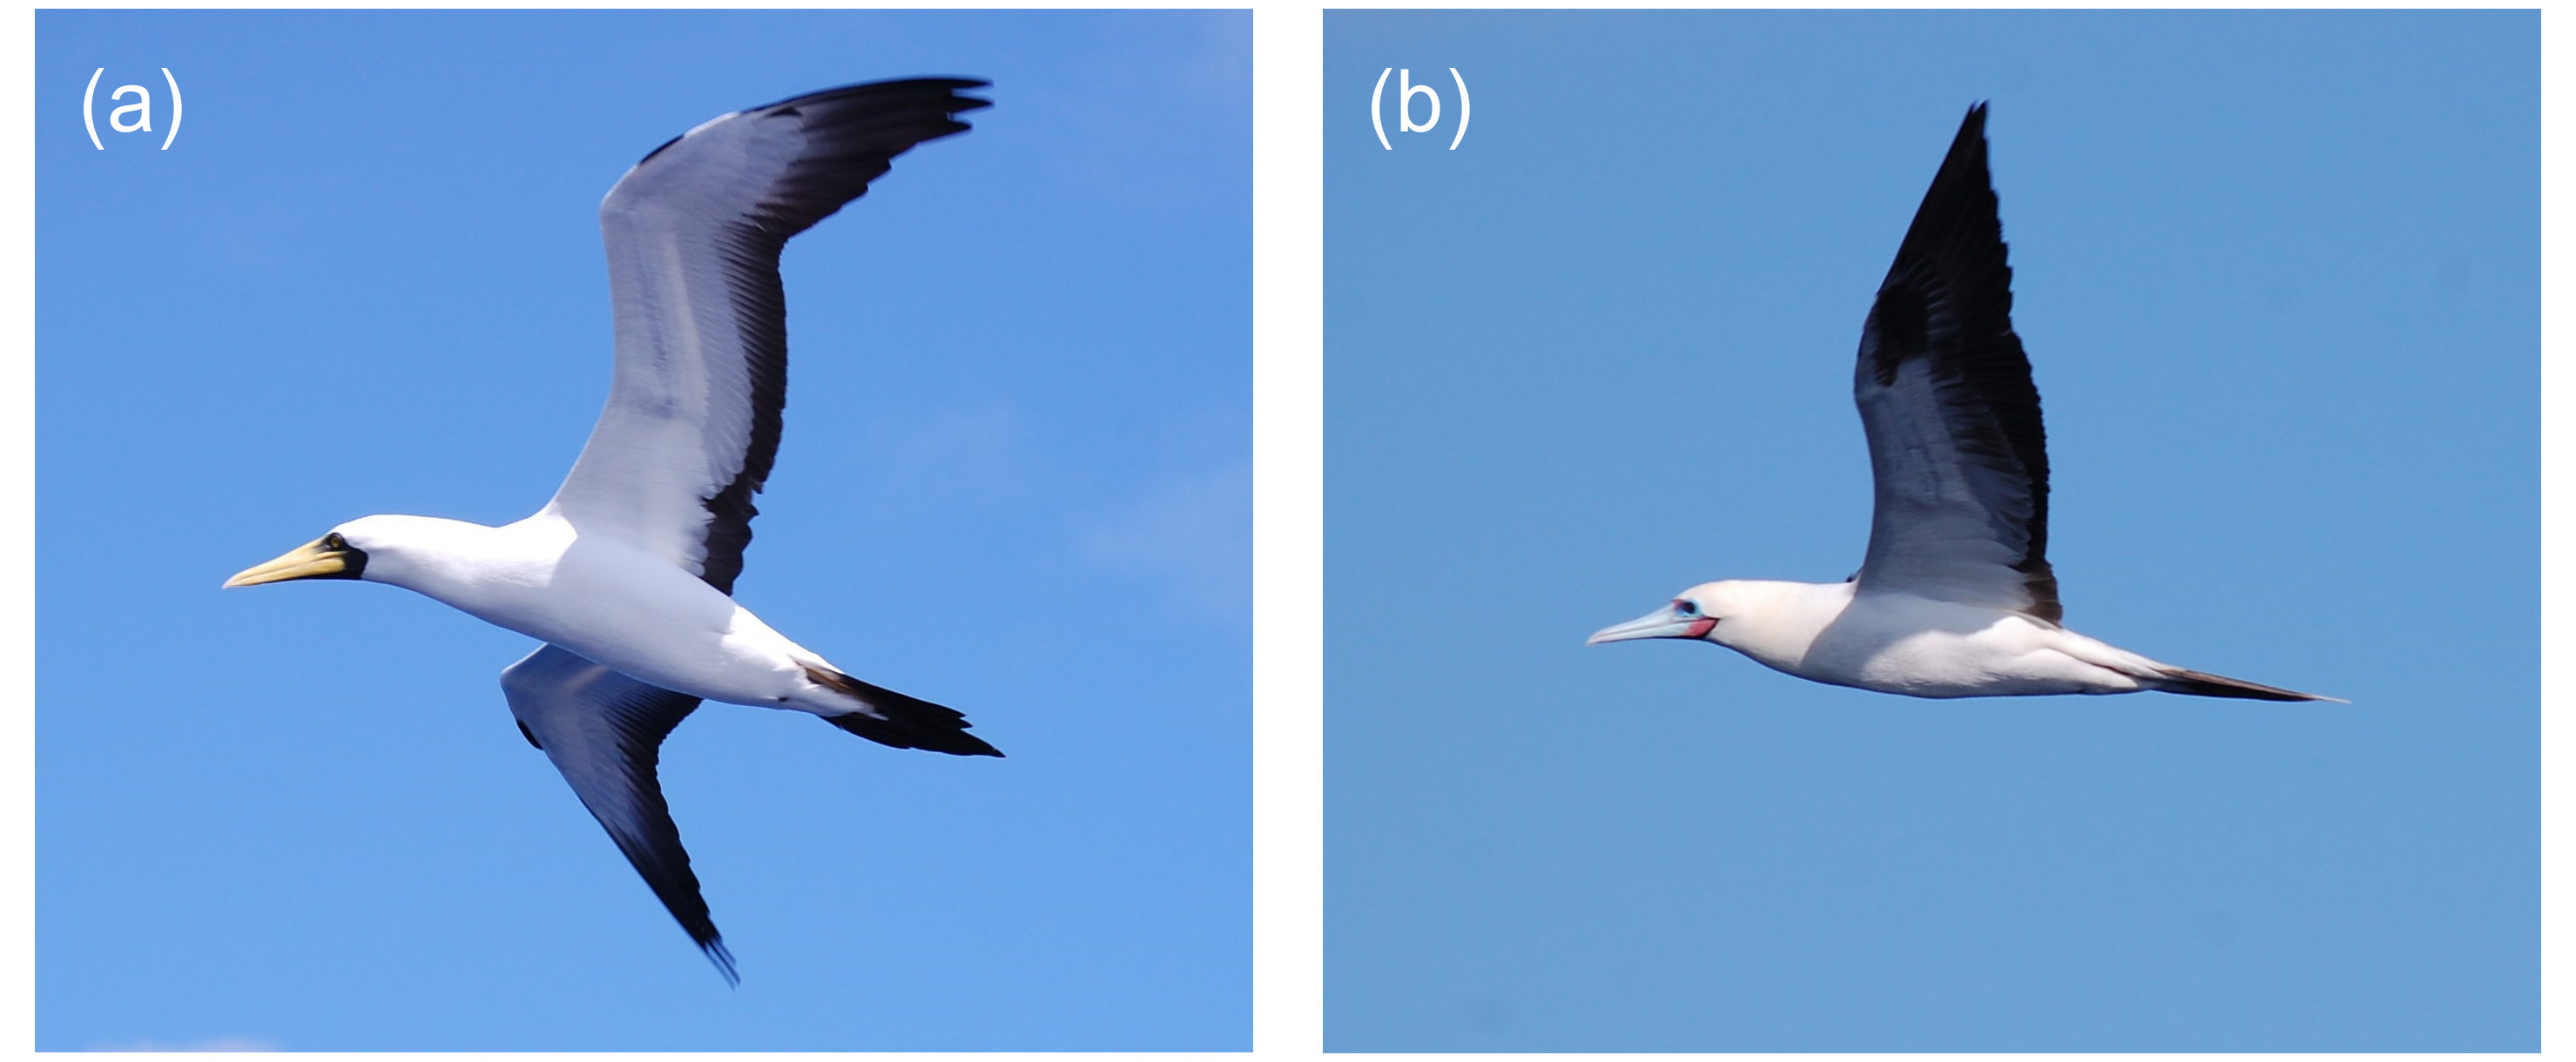
Fig1_text<-image_annotate(Fig1_draw, "(a)", location = "+1199+999", font = 'Arial', size = 100, color='white')To add the text in the left top part you can use define the xaxis and yaxis as 100.
Fig1_text<-image_annotate(Fig1_draw, "(a)", location = "+50+50", font = 'Arial', size = 100, color='white')Export
Use the function image_write to export.
image_write(Fig1_text, path = paste0(My_directory,"/Fig1_tl.png"), format = "png")2. Merge two pictures into one and export
Follow the same steps as above, but with a second picture.
Fig2_draw<-image_draw(Fig2_original)
Fig2_text<-image_annotate(Fig2_draw, "(b)",  location = "+50+50", font = 'Arial', size = 100, color='white')
Add border
Use the function image_border to add some space between the pictures.
Fig1_border<-image_border(image_background(Fig1_text, "transparent"), "white", "40x10")
Fig1_borderFig2_border<-image_border(image_background(Fig2_text, "transparent"), "white", "40x10")
Fig2_borderCombine
Use the function image_append to have both pictures side by side.
image_append(c(Fig1_border,Fig2_border))Export
Use the function image_write to export the picture.
here() starts at C:/Users/lerma/OneDrive/Documents/03Academico/02Proyectos/2026/1Programming/1Quarto/quarto_webpageimage_write(image_append(c(Fig1_border,Fig2_border)), path = paste0(My_directory,"/Fig1_append.png"), format = "png")